1. Jenkins简介
Jenkins是一款开源 CI&CD 软件,用于自动化各种任务,包括构建、测试和部署软件。
2. 安装教程
2.1 java17环境搭建
yum/wget 下载慢操作步骤:
- 首先备份系统自带『yum 源配置文件』,具体路径为:/etc/yum.repos.d/CentOS-Base.repo
1
| >mv /etc/yum.repos.d/CentOS-Base.repo /etc/yum.repos.d/CentOS-Base.repo.bak
|
- 下载阿里云的 yum 源配置文件到文件夹『/etc/yum.repos.d/』中。
1
2
3
| >wget -O /etc/yum.repos.d/CentOS-Base.repo http://mirrors.aliyun.com/repo/Centos-7.repo
>清除 yum 缓存:yum clean all
>生成新的缓存:yum makecache
|
1
2
3
4
5
6
7
8
9
10
| [root@jenkinstest ~]# wget https://download.oracle.com/java/17/latest/jdk-17_linux-x64_bin.tar.gz
[root@jenkinstest ~]# mv jdk-17_linux-x64_bin.tar.gz /opt/module/
[root@jenkinstest module]# tar -zxvf jdk-17_linux-x64_bin.tar.gz
[root@jenkinstest module]# mv jdk-17.0.10/ jdk17
[root@jenkinstest module]# echo 'export PATH=$PATH:/opt/module/jdk17/bin' >> /etc/profile && source /etc/profile
[root@jenkinstest module]#
[root@jenkinstest module]# java --version
java 17.0.10 2024-01-16 LTS
Java(TM) SE Runtime Environment (build 17.0.10+11-LTS-240)
Java HotSpot(TM) 64-Bit Server VM (build 17.0.10+11-LTS-240, mixed mode, sharing)
|
2.2 git安装
1
2
3
4
5
6
7
8
9
10
11
12
13
14
15
16
17
18
19
| [root@jenkinstest module]# yum -y install git
[root@jenkinstest module]#
[root@jenkinstest module]# git --version
git version 1.8.3.1
# 配置git
git config --global user.name "jenkinsTest"
git config --global user.email "1156007386@qq.com"
[root@jenkinstest conf]# ssh-keygen -t ed25519 -C "Gitee SSH Key"
[root@jenkinstest conf]# cd ~/.ssh/
[root@jenkinstest .ssh]#
[root@jenkinstest .ssh]# ll
total 8
-rw-------. 1 root root 399 Apr 6 18:31 id_ed25519
-rw-r--r--. 1 root root 95 Apr 6 18:31 id_ed25519.pub
[root@jenkinstest .ssh]#
[root@jenkinstest .ssh]# cat id_ed25519.pub
ssh-ed25519 AAAAC3NzaC1lZDI1NTE5AAAAILqxqM2rSBVbKIpCi9QYhr/Vi32YGbEJ8vqxmb0SUPuO Gitee SSH Key
[root@jenkinstest .ssh]# ssh -T git@gitee.com #测试gitee
|
2.3 maven安装
jar包仓库默认存储地址:/root/.m2/repository
1
2
3
4
5
6
7
8
9
10
11
12
13
14
15
| [root@jenkinstest module]# wget https://repo.huaweicloud.com/apache/maven/maven-3/3.8.1/binaries/apache-maven-3.8.1-bin.tar.gz
[root@jenkinstest module]# mv apache-maven-3.8.1-bin.tar.gz /opt/software/
# 添加环境变量
export MAVEN_HOME=/opt/module/apache-maven-3.8.1
export PATH=$PATH:${MAVEN_HOME}/bin
[root@jenkinstest module]# source /etc/profile
[root@jenkinstest module]# mvn -v
Apache Maven 3.8.1 (05c21c65bdfed0f71a2f2ada8b84da59348c4c5d)
Maven home: /opt/module/apache-maven-3.8.1
Java version: 17.0.10, vendor: Oracle Corporation, runtime: /opt/module/jdk17
Default locale: en_US, platform encoding: UTF-8
OS name: "linux", version: "3.10.0-693.el7.x86_64", arch: "amd64", family: "unix"
|
2.4 jenkins安装
1
2
3
4
5
6
7
8
9
10
11
12
| # 上传网关下载的war包 https://mirrors.jenkins.io/war-stable/ 2.440.1
[root@jenkinstest jenkins]# ll
total 84476
-rw-r--r--. 1 root root 86502820 Apr 6 18:42 jenkins.war
[root@jenkinstest jenkins]# cat start.sh
# !bin/bash
nohup java -jar /opt/module/jenkins/jenkins.war --httpPort=80 > /opt/module/jenkins/jenkins.log 2>&1 &
# 更新fontconfig ,不然会报错
yum install -y fontconfig
# 查看秘钥
cat /root/.jenkins/secrets/initialAdminPassword
ac065cc3d8754b23a1fed1adb25e13e4
|
2.5 docker环境搭建
略
3. 流水线配置
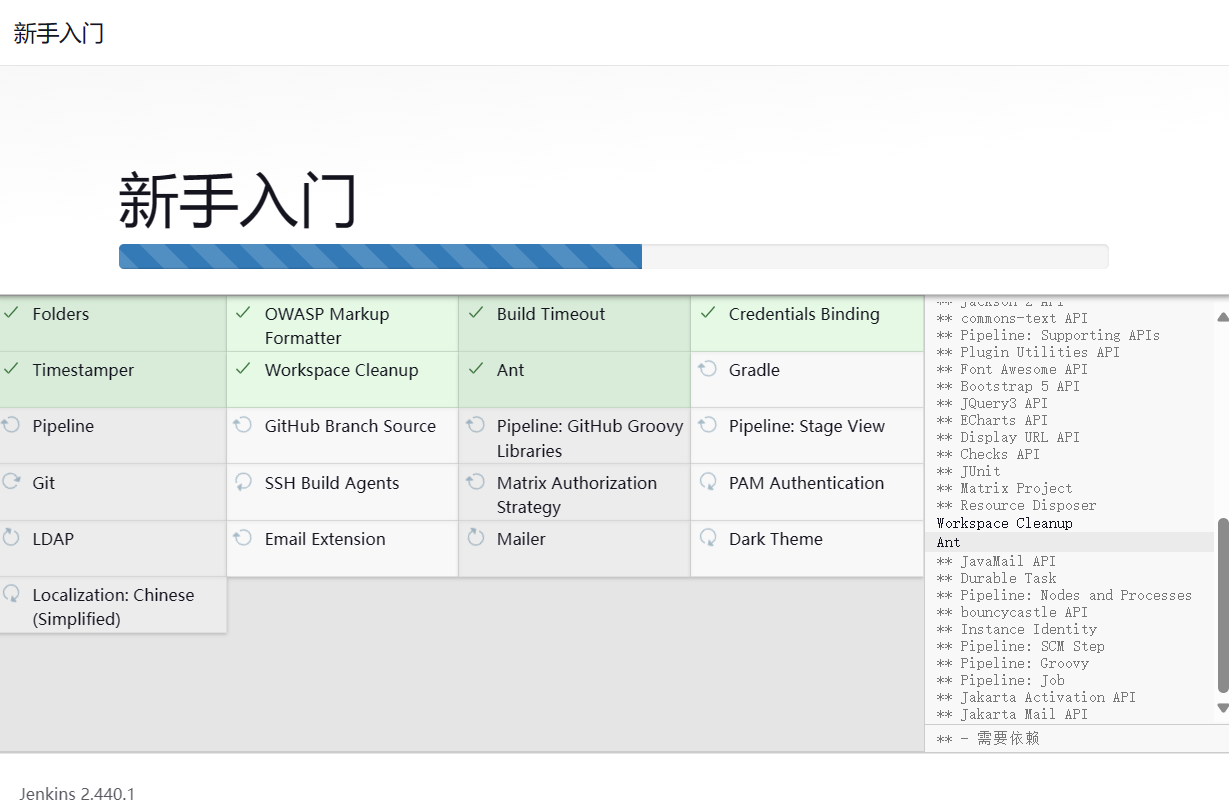
使用刚才的秘钥登录;选择推荐的插件下载,稍等一会儿
默认目录:/root/.jenkins/workspace/jenkinsTest/hsf-log/target/
1
2
3
4
5
6
7
8
9
10
11
12
13
14
| node {
def mvnHome
stage('Preparation') {
git 'git@gitee.com:kakaron_119/blog.git'
}
stage('Maven Build') {
sh "mvn clean package"
}
stage('Build Image') {
sh "/root/.jenkins/workspace/scripts/blog.sh"
}
}
|
4. K8s+Jenkins
1
2
3
4
5
6
7
8
9
10
11
12
13
| [root@jenkinstest scripts]# cat blog.sh
# 脚本开始
# 进入到blog目录
cd ../blog
# 编写Dockerfile文件
echo "Dockerfile created successfully!"
# 基于指定目录下的Dockerfile构建镜像
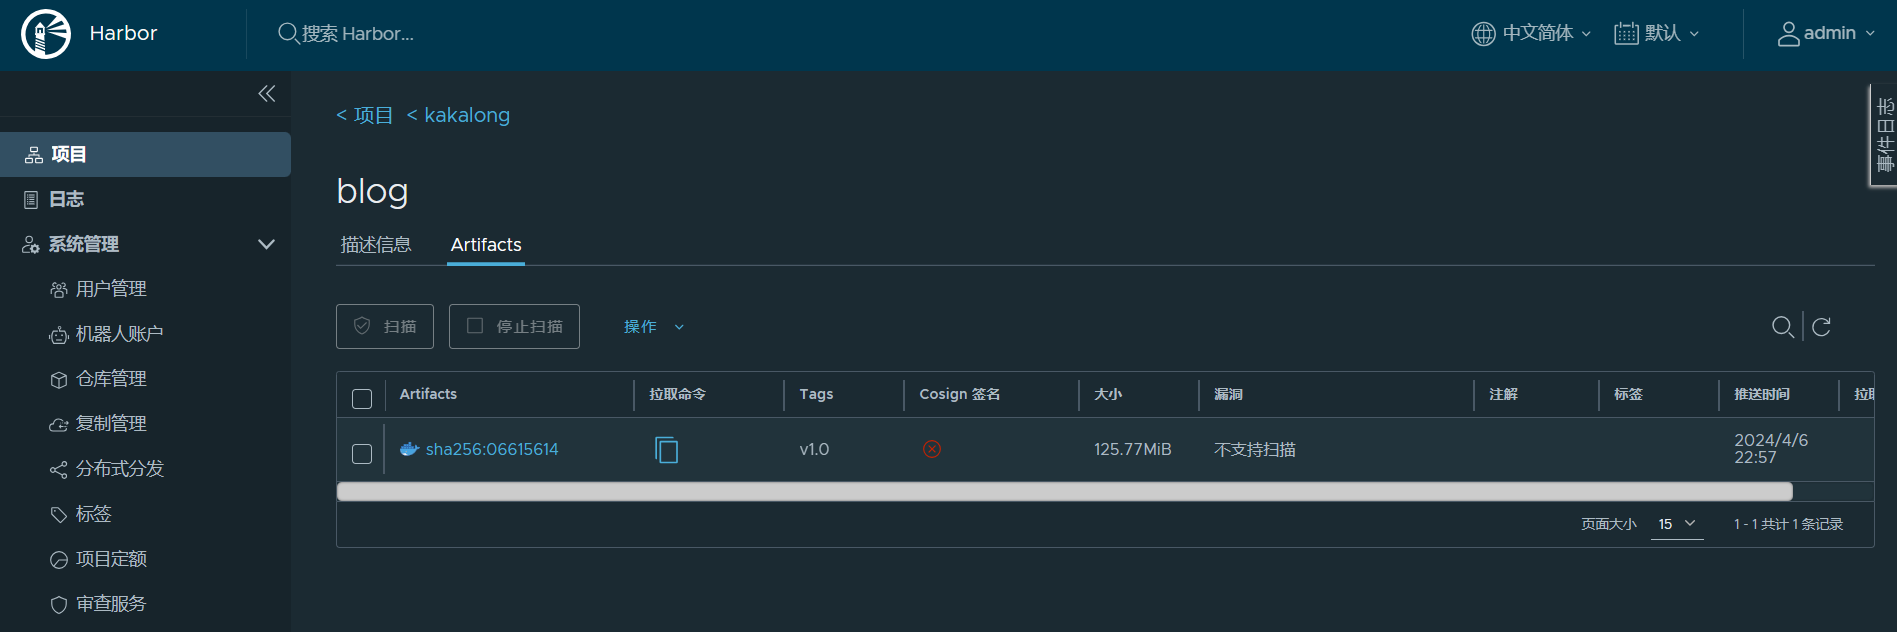
docker build -t 192.168.100.38:8081/kakalong/blog:v1.0
# push镜像
docker push 192.168.100.38:8081/kakalong/blog:v1.0
|
至此,镜像已经被推送到镜像仓库。
使用rancher拉取镜像启动服务