1. 创建项目
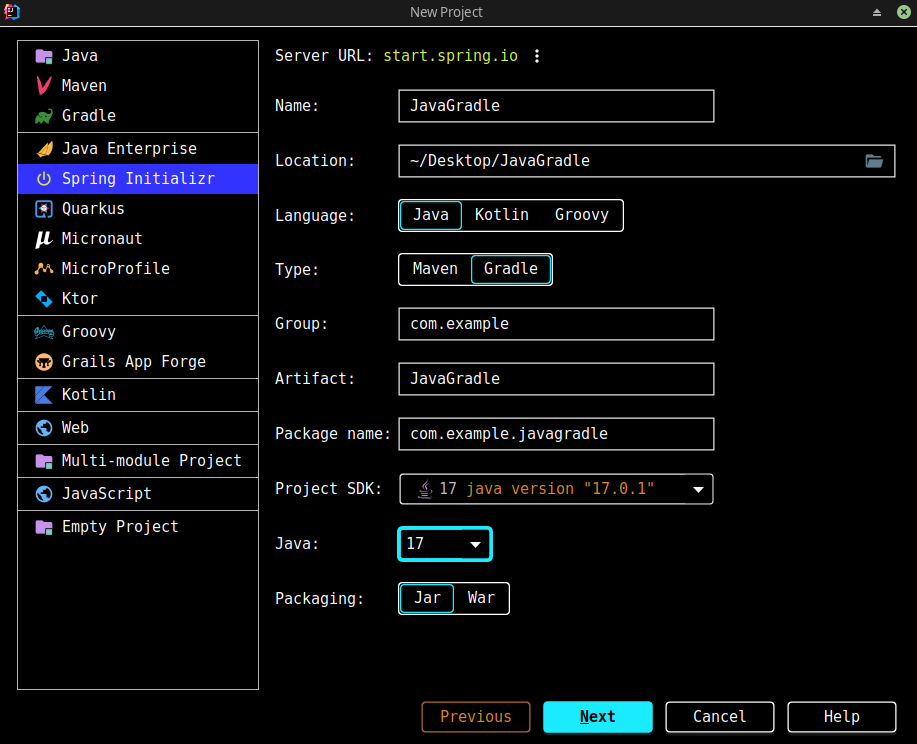
直接使用IDEA提供的Spring Initializer即可,构建工具选择Gradle:
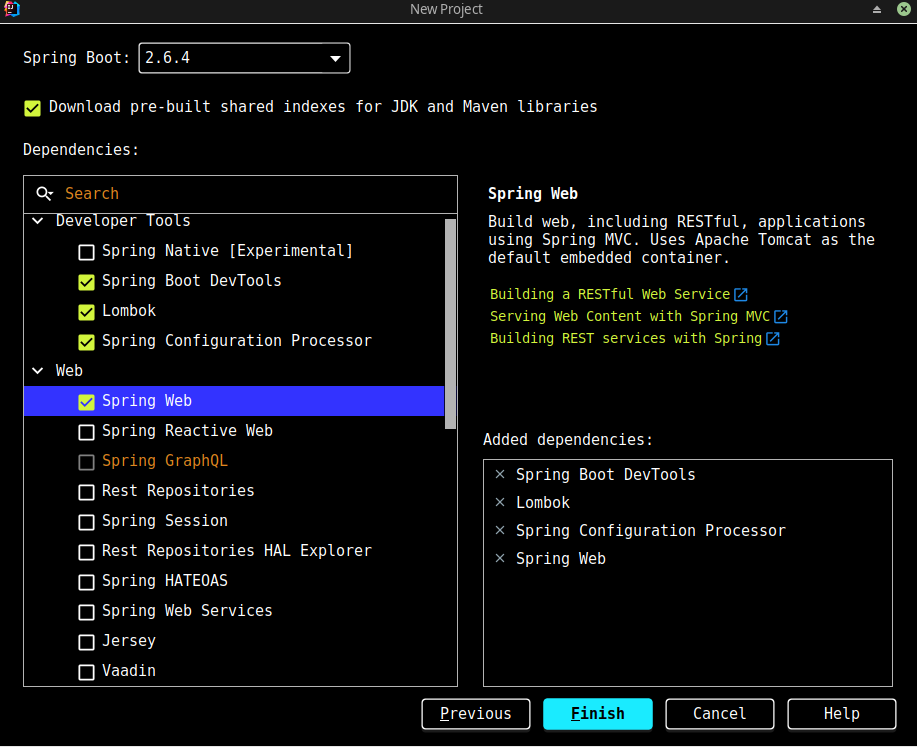
依赖:
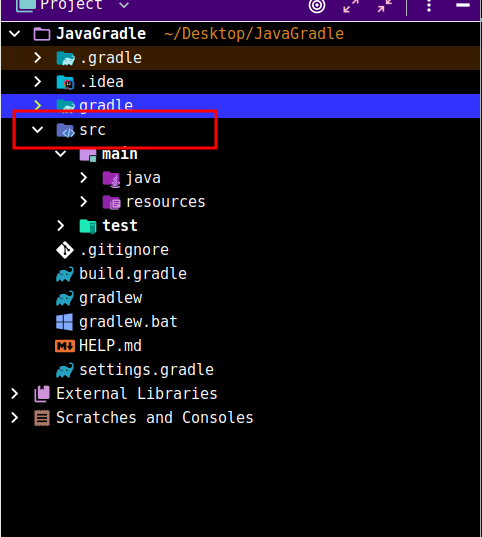
构建完成后删除src目录,因为根目录属于管理模块目录不提供运行的应用:
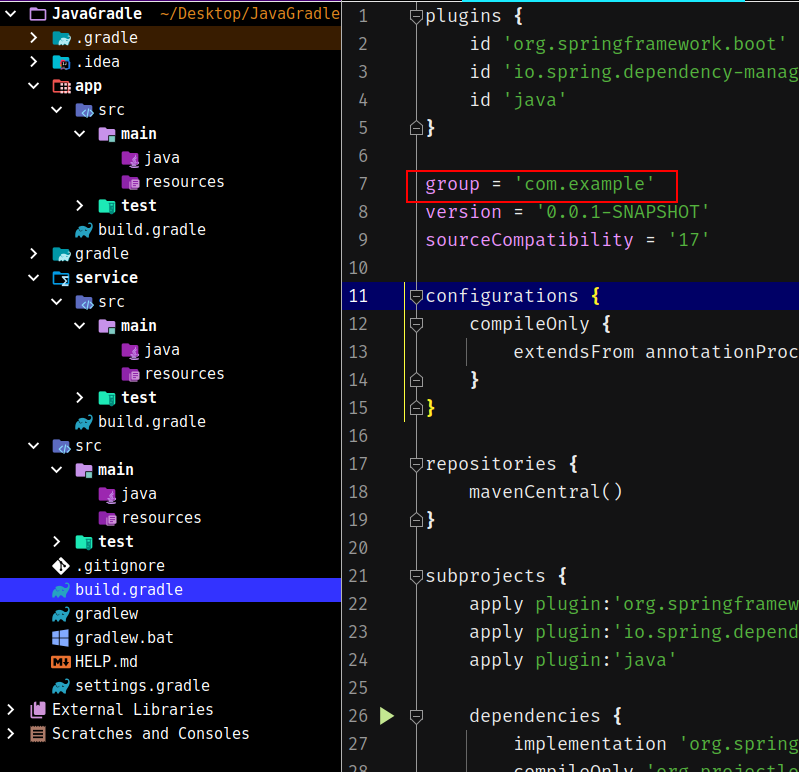
2. 修改build.gradle
这是最复杂的一步,并且Gradle版本更新的话步骤可能会不一样,首先在底部添加一个空的subprojects:
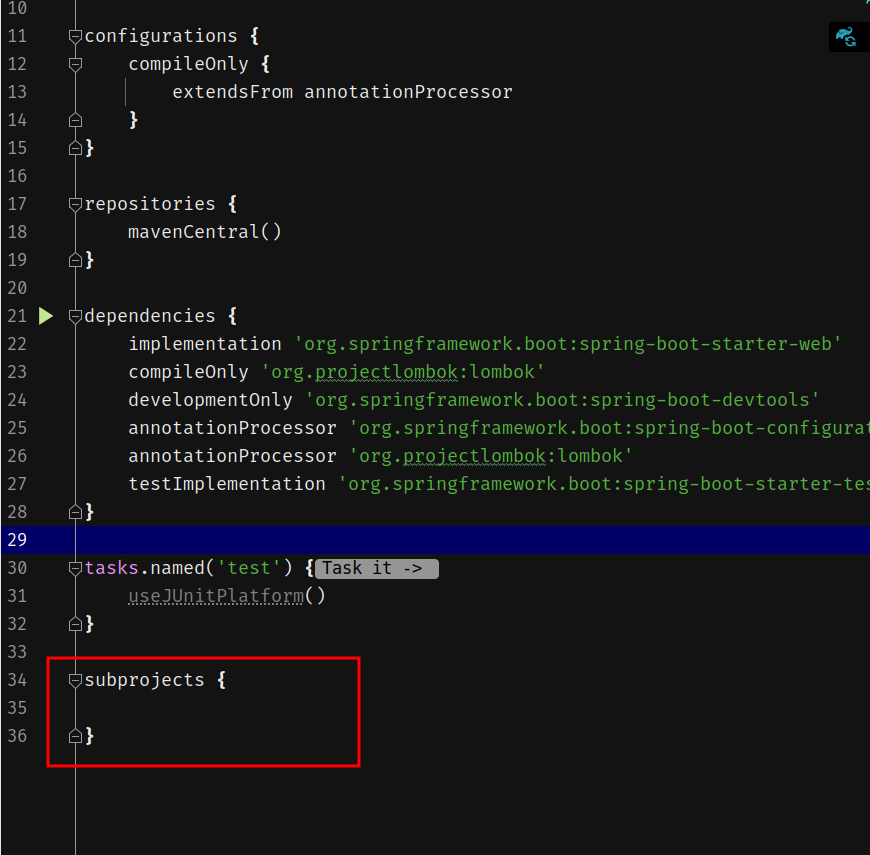
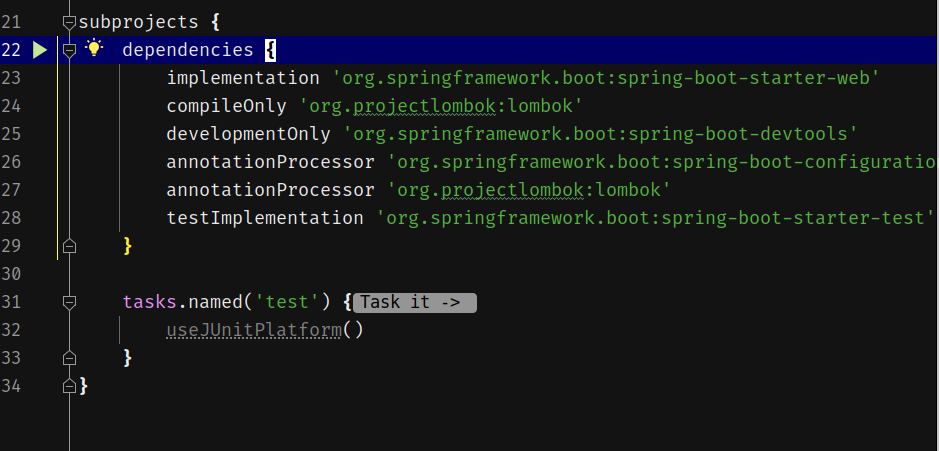
接着把dependencies以及tasks.name(‘test’)移动进去:
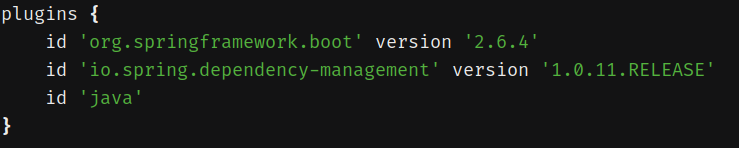
最后一步是,在subprojects开头,添加插件apply,根据默认初始化创建的plugins,逐一添加。
比如这里默认使用了三个插件:
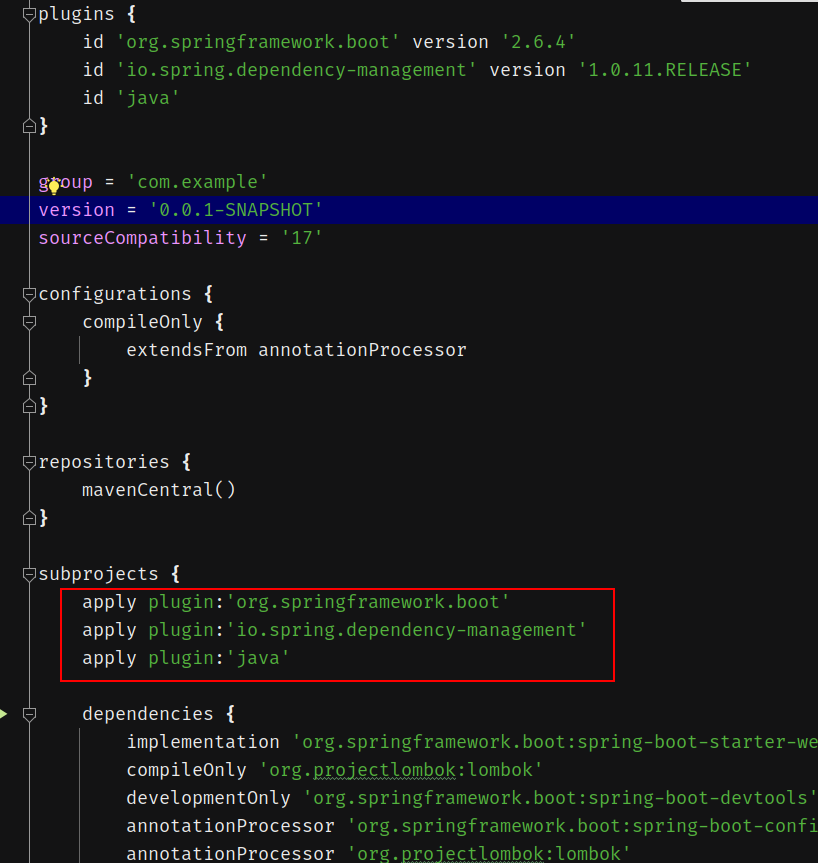
apply到subprojects中:
3. 创建模块
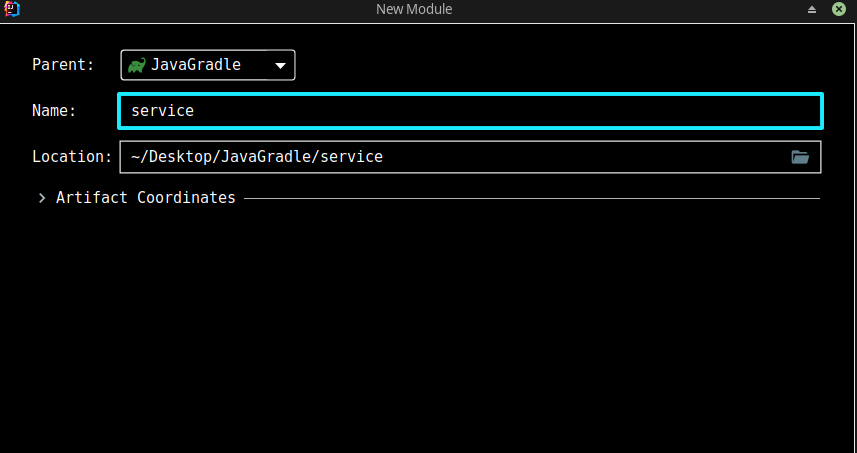
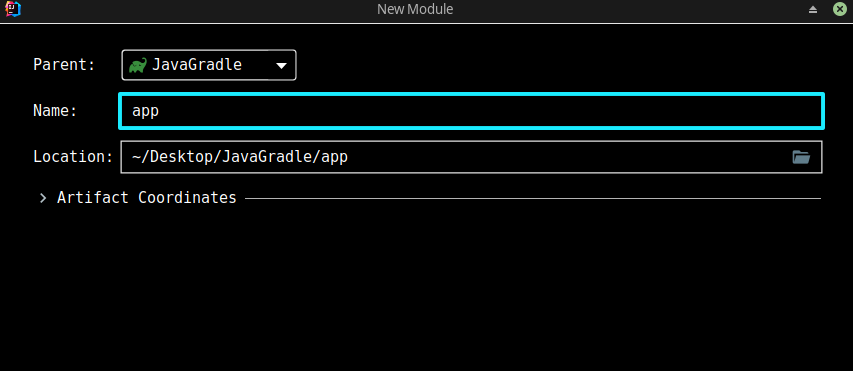
File -> New -> Module:
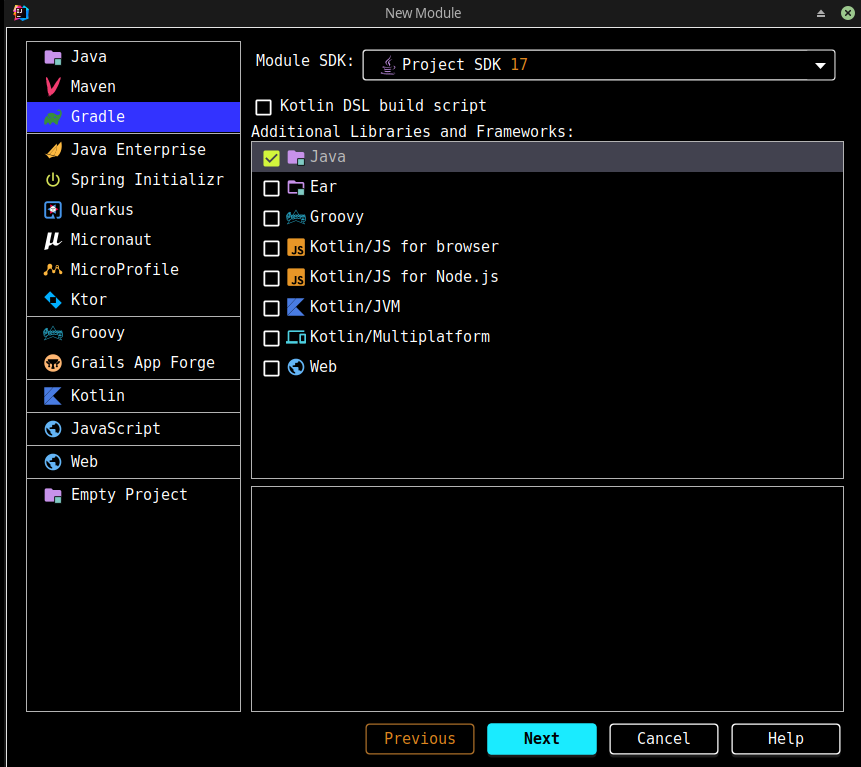
输入模块名即可,这里的例子是创建两个模块:
- service
- app
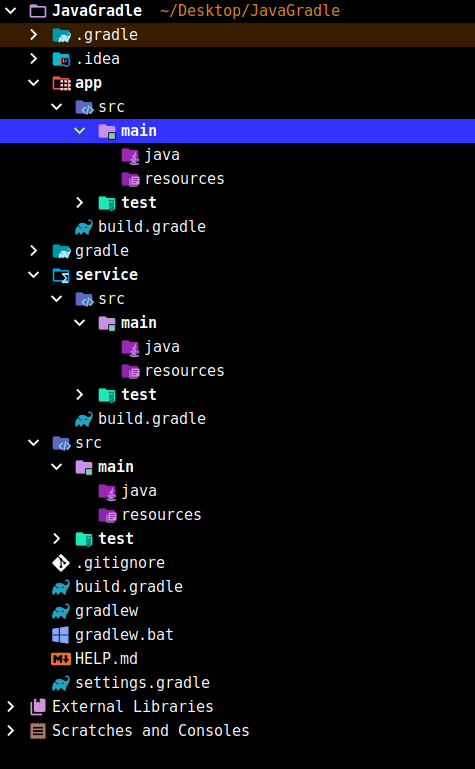
创建好后如图所示:
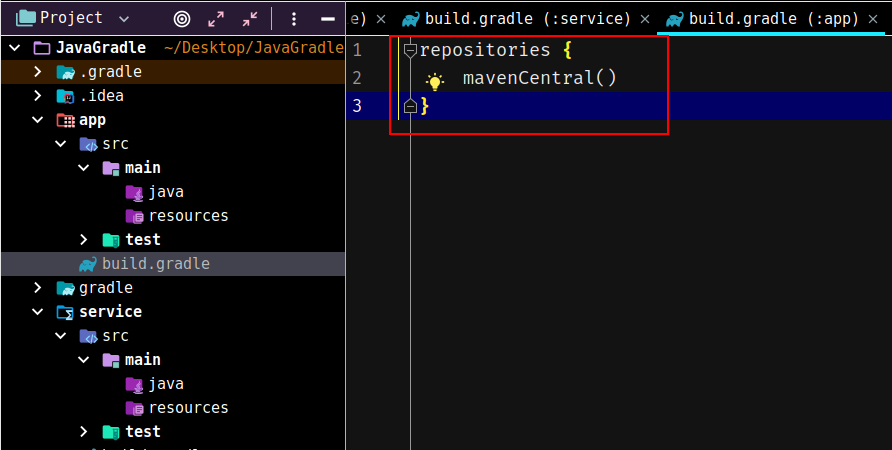
完成创建之后,把两个模块中的build.gradle除了repositories之外的全部删去,仅保留repositories:
4. 编写模块
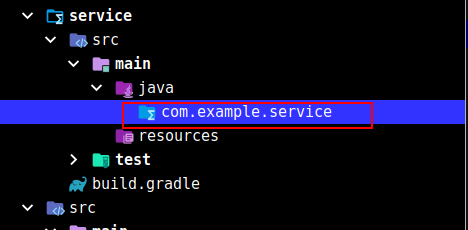
4.1 service模块
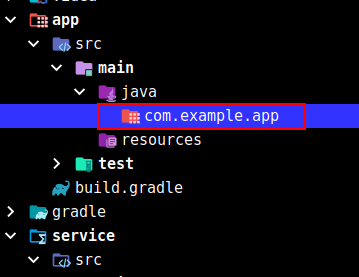
首先创建包,根据根目录中的build.gradle中的group创建:
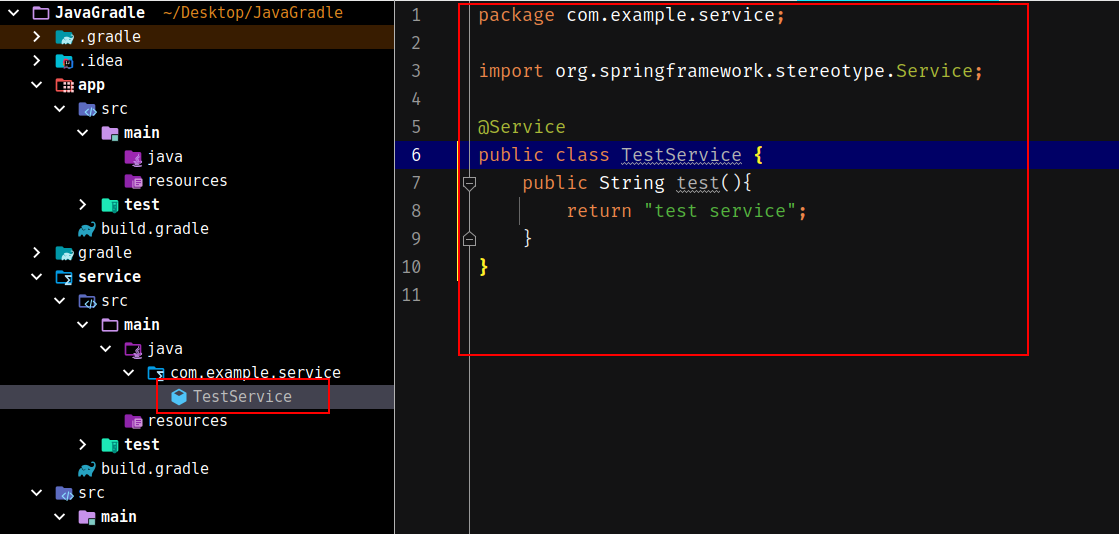
接着编写一个叫TestService的带@Service注解的类,里面包含一个test方法:
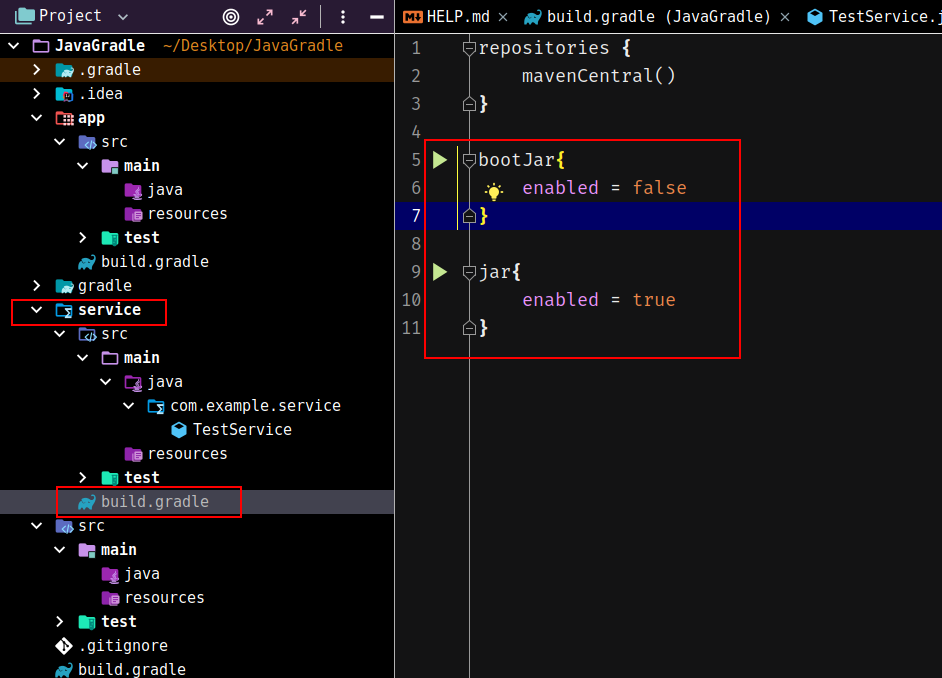
同时修改service模块的build.gradle,添加bootJar以及jar选项:
1 | bootJar{ |
4.2 app模块
首先创建包:
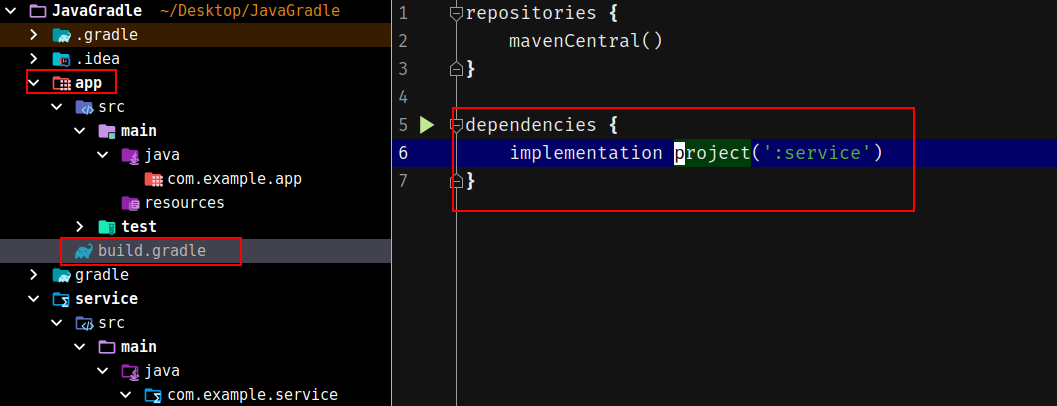
接着在app模块的build.gradle添加service模块的依赖:
再创建启动类以及一个Controller:
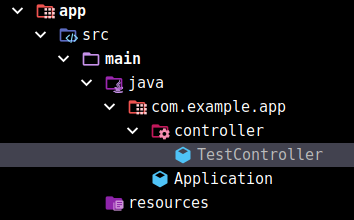
代码如下:
1 | package com.example.app; |
1 | package com.example.controller; |
注意,因为Spring Boot无法自动识别其他模块下的类,所以需要手动处理一下,有三种方法:
- 第一种:使用@Import,也就是@Import(TestService.class)
- 第二种:使用scanBasePackageClasses,也就是@SpringBootApplication(scanBasePackageClasses={TestService.class})
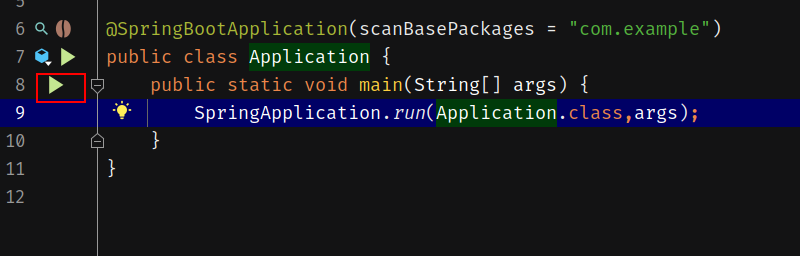
- 第三种:使用scanBasePackages,也就是例子中的代码@SpringBootApplication(scanBasePackages = “com.example”)
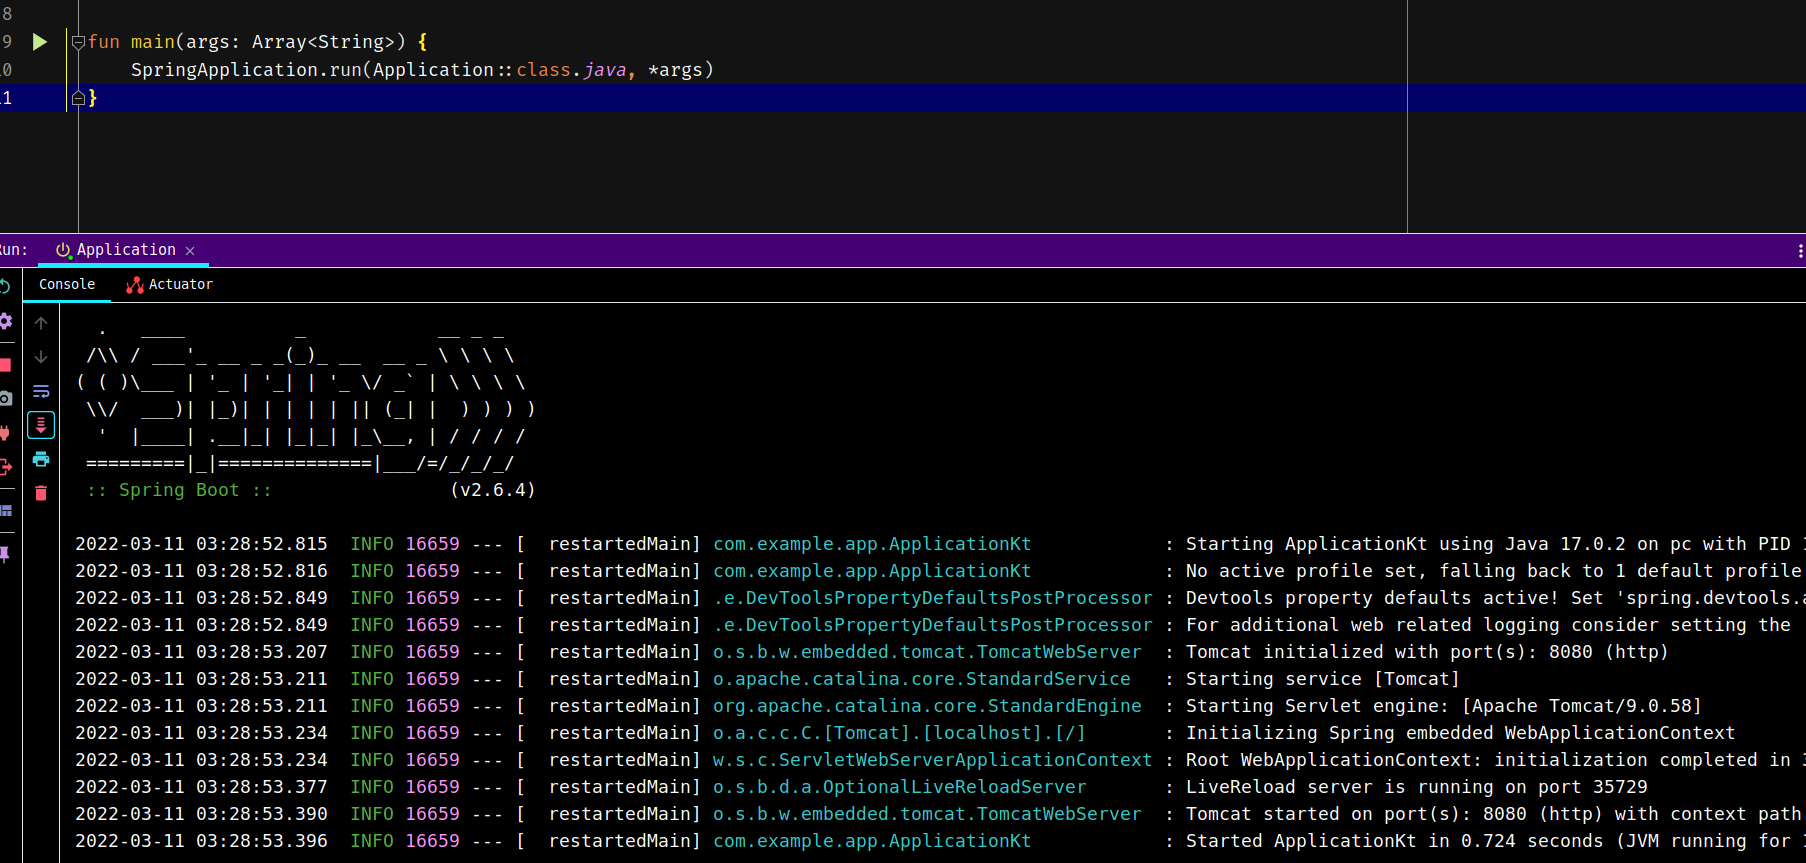
5. 运行
接下来就可以运行了,可以直接点击Application旁边的绿色小三角:
成功运行:
同样可以访问localhost:8080/test:

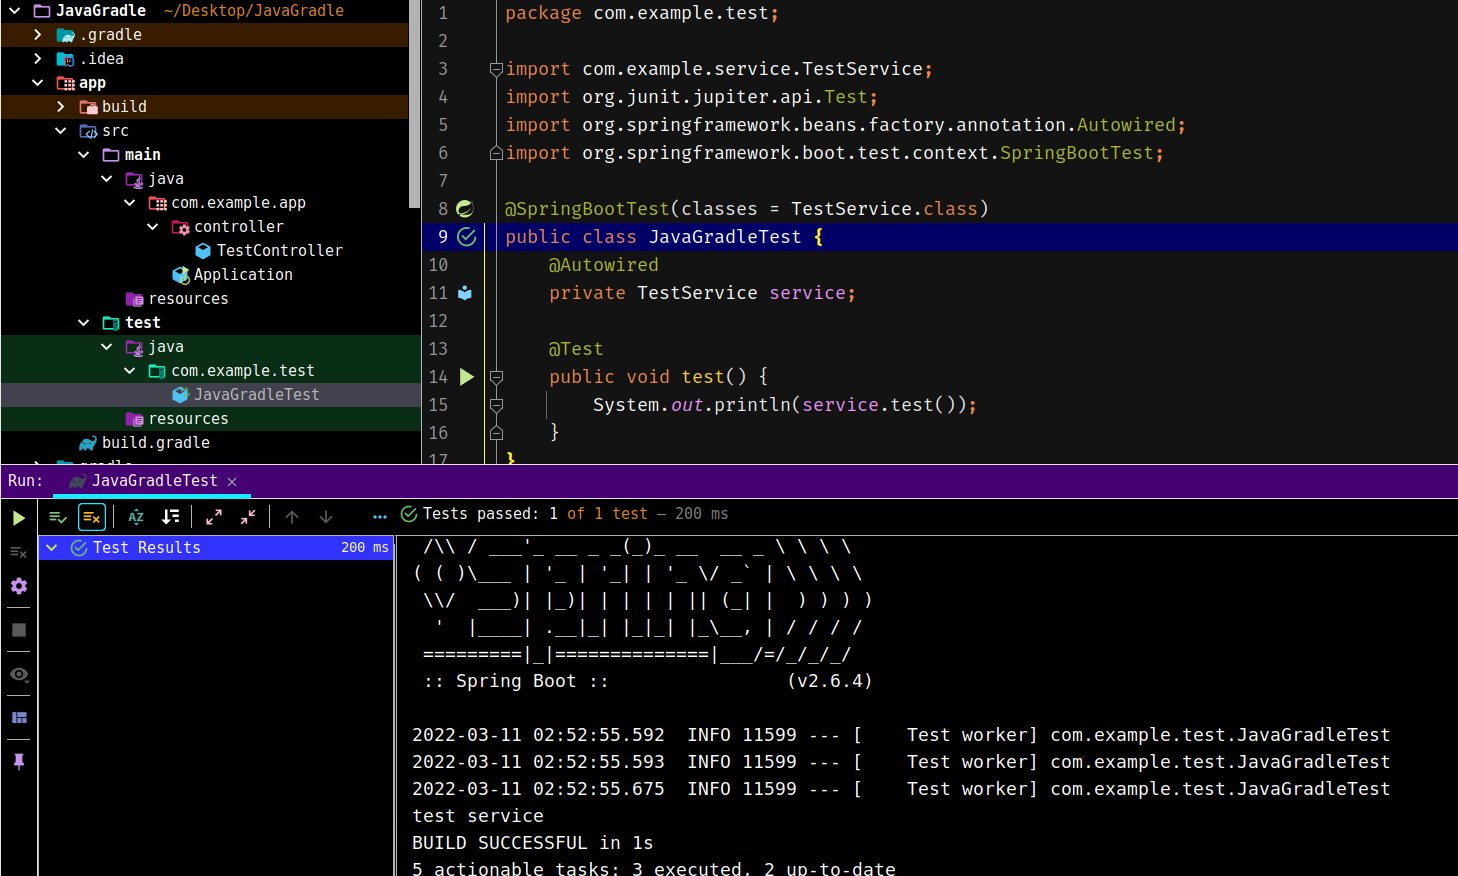
6. 测试
创建测试包、测试类:

1 | package com.example.test; |
接着进行测试:
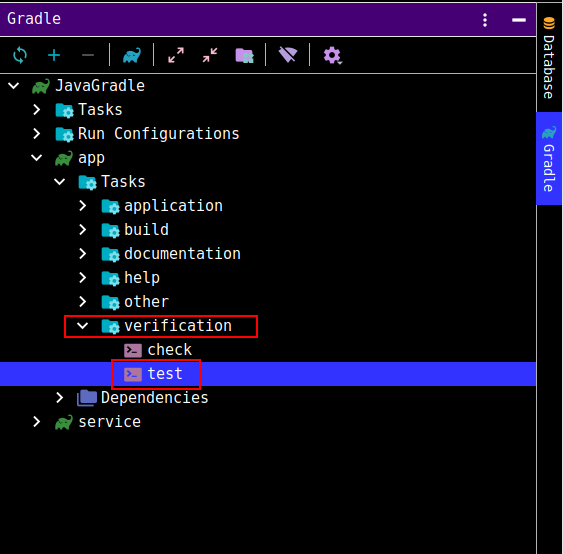
当然测试也可以跑一下Gradle中的任务:
7. 打包
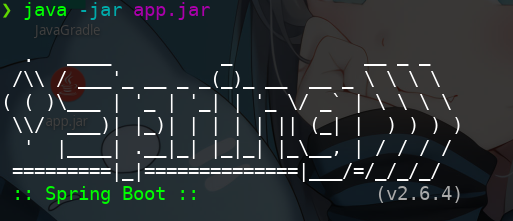
打包的话直接运行bootJar即可:
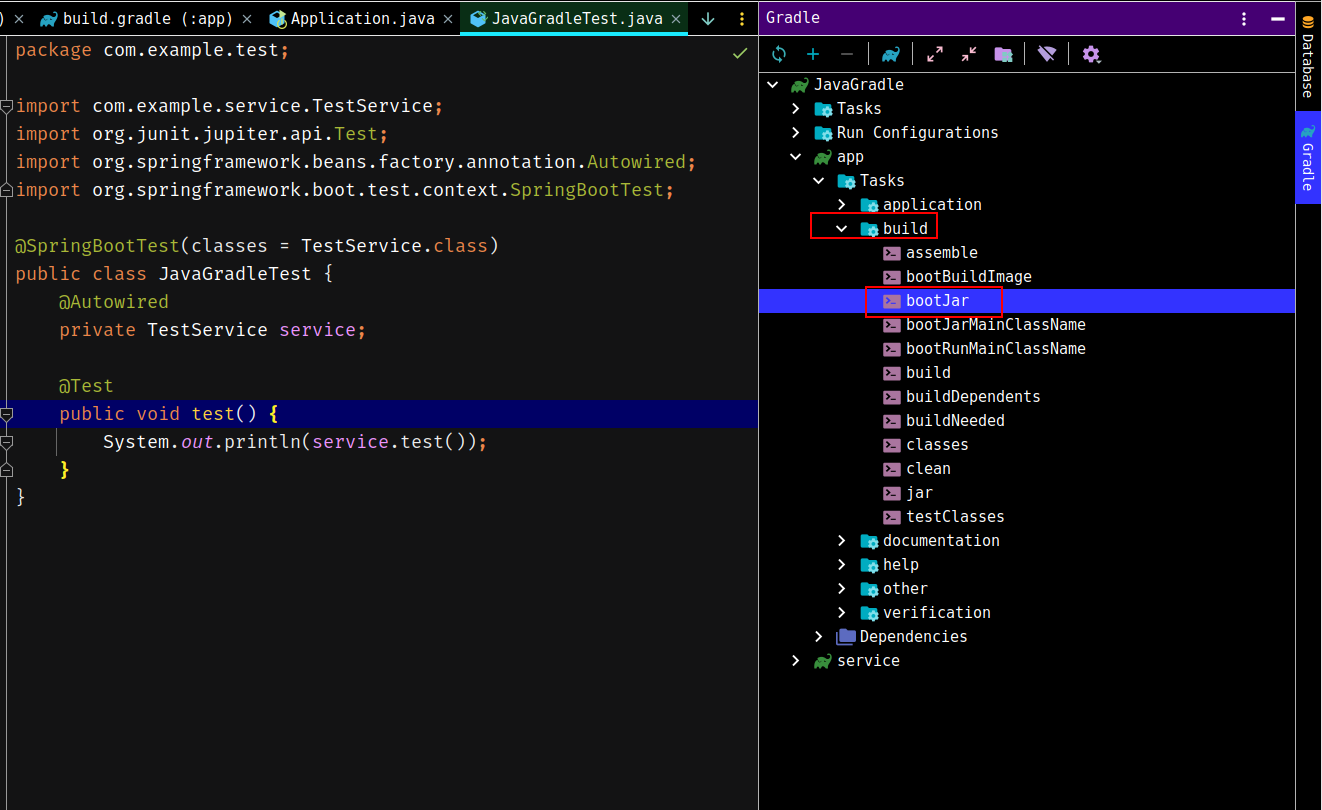
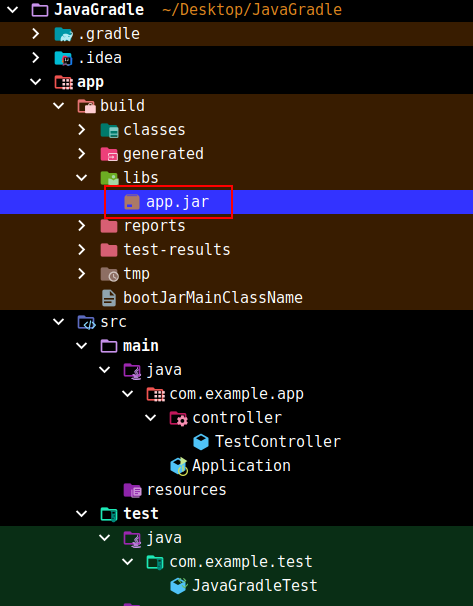
会在build/libs下生成JAR包:
测试:

再次访问localhost:8080/test没有问题。
这样使用Java+Gradle构建一个多模块的Spring Boot项目就成功了。