1. 安装

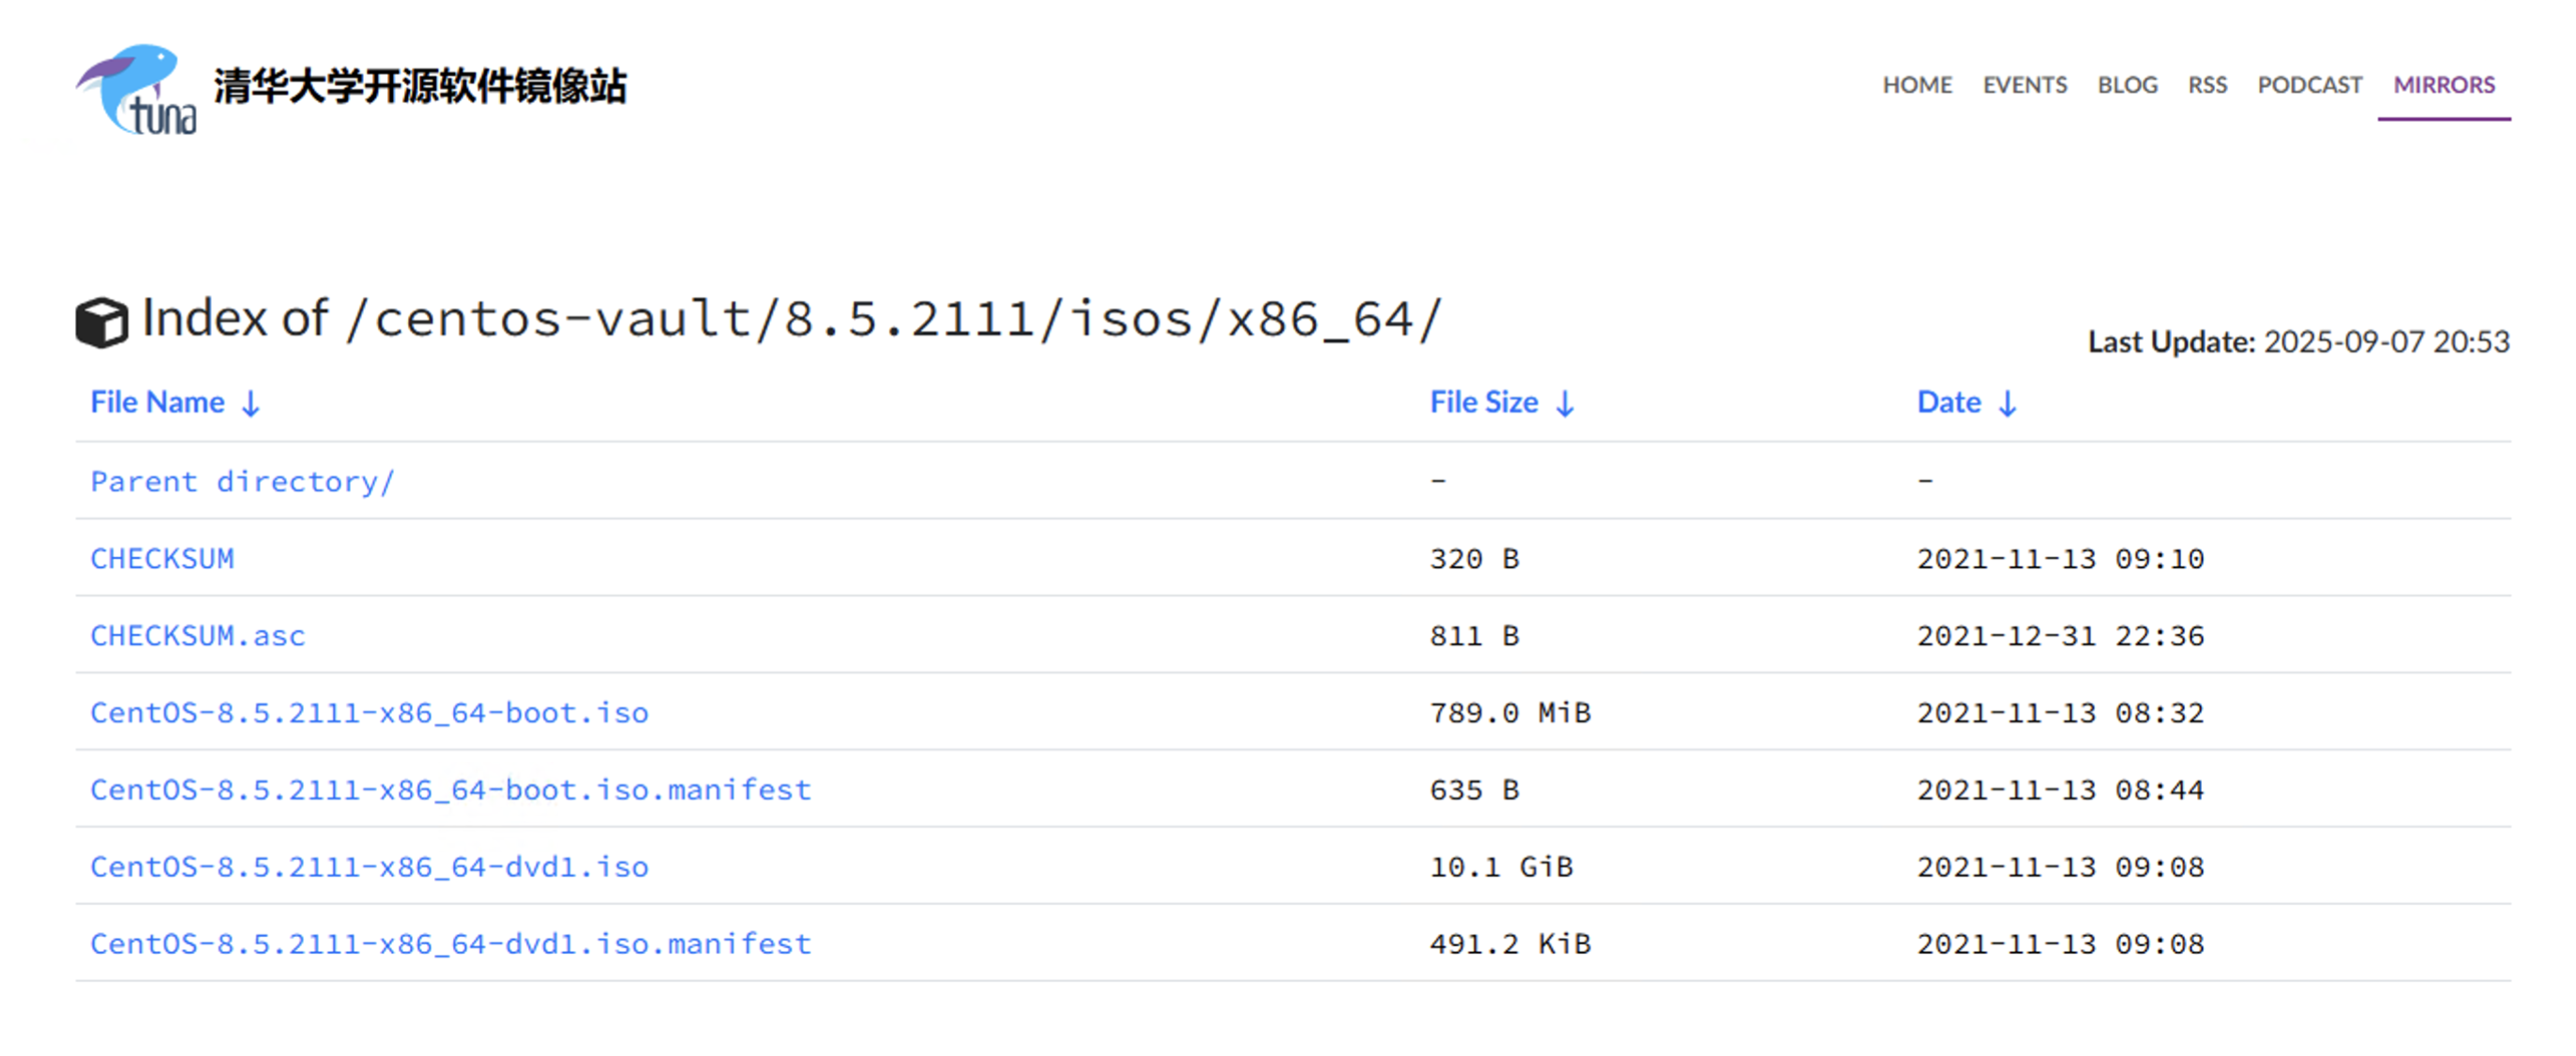
1.1 下载iso

点我下载

image-20250907215124855

1.2 vmware安装

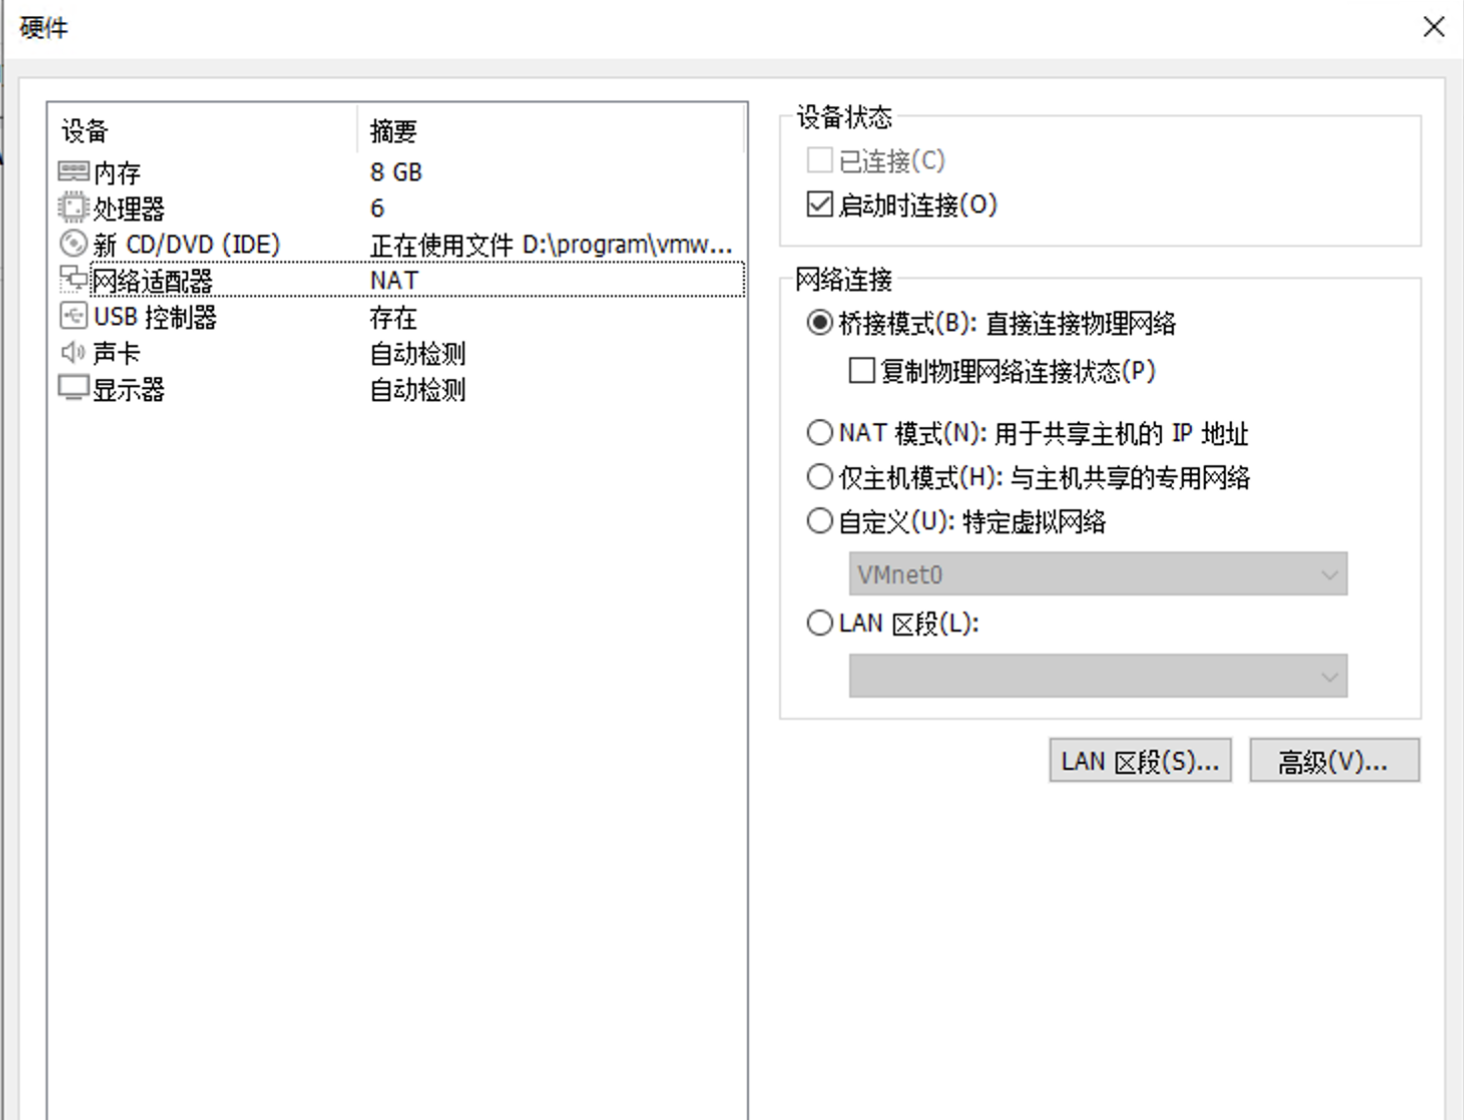
  • 配置

image-20250907215338473

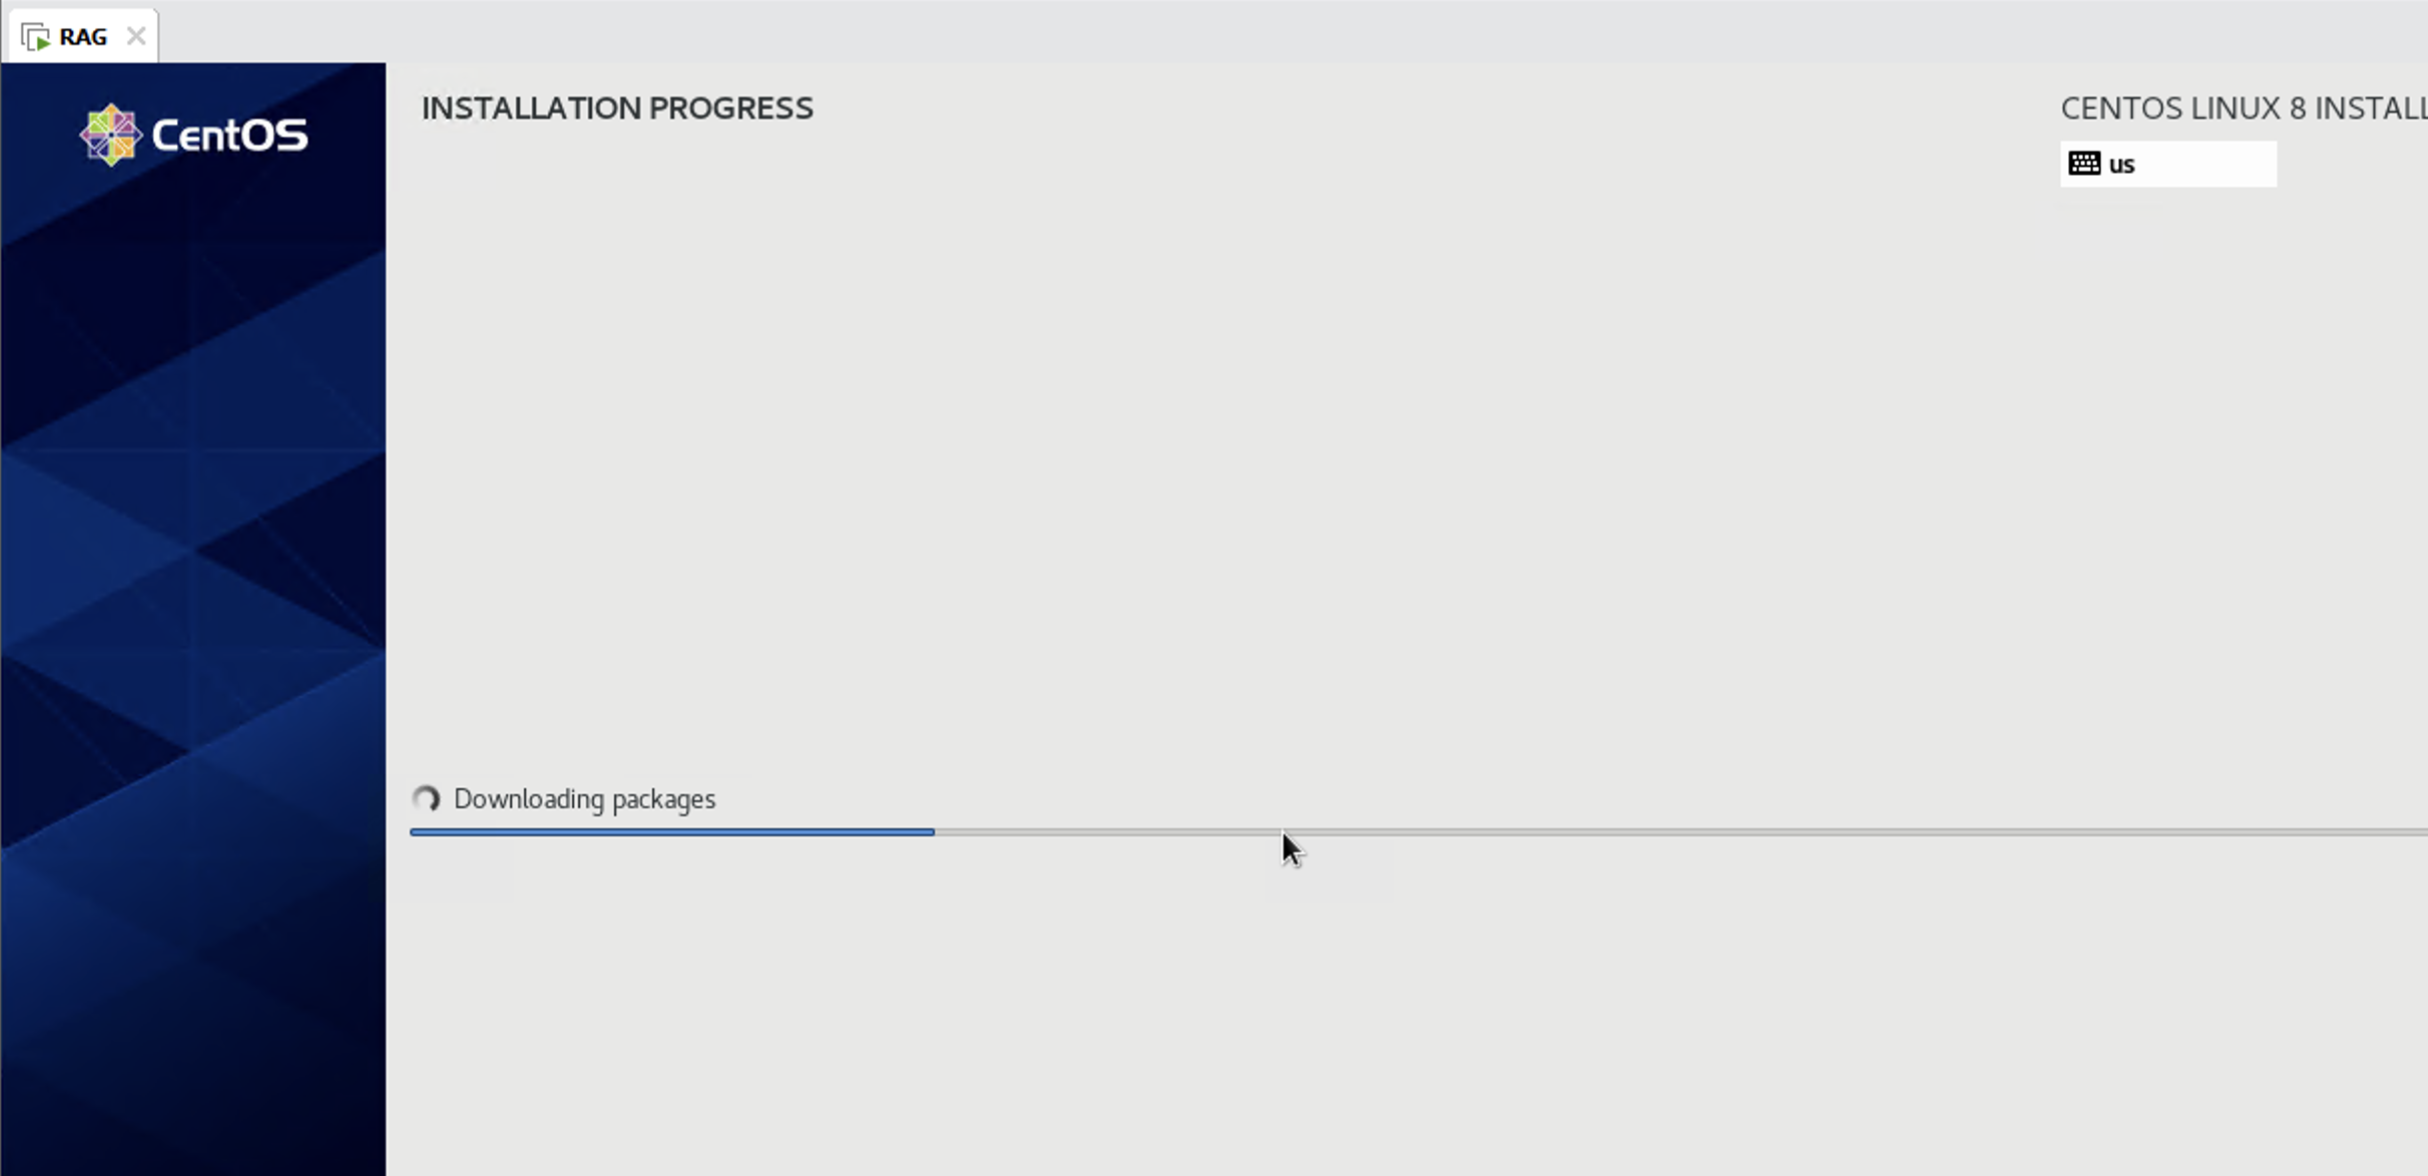
  • 安装

image-20250907215632475

2. 初始化配置

2.1 用户名

1
hostnamectl set-hostname rag

3.2 防火墙

1
2
3
4
5
6
7
systemctl status firewalld.service

## 1. 关闭防火墙
systemctl stop firewalld.service

## 2. 永久关闭
systemctl disable firewalld.service

3.3 静态ip

1
2
3
4
5
6
7
8
9
10
11
12
13
14
15
16
17
18
19
20
21
22
23
24
cd /etc/sysconfig/network-scripts

cat ifcfg-ens160
TYPE=Ethernet
PROXY_METHOD=none
BROWSER_ONLY=no
BOOTPROTO=static
DEFROUTE=yes
IPV4_FAILURE_FATAL=no
IPV6INIT=yes
IPV6_AUTOCONF=yes
IPV6_DEFROUTE=yes
IPV6_FAILURE_FATAL=no
NAME=ens160
UUID=33eca5d3-f293-4a7b-af32-db2369672d84
DEVICE=ens160
ONBOOT=yes

IPADDR=192.168.100.240
GATEWAY=192.168.100.9
NETMASK=255.255.255.0

DNS1=8.8.8.8
DNS2=8.8.4.4

3.4 yum源更新

1
2
3
4
5
6
7
8
9
## 1. 重命名CentOS-Base文件
mv /etc/yum.repos.d/CentOS-Base.repo /etc/yum.repos.d/CentOS-Base.repo.backup
## 2. 下载 阿里云CentOS 8 源配置
wget -O /etc/yum.repos.d/CentOS-Base.repo https://mirrors.aliyun.com/repo/Centos-vault-8.5.2111.repo
## 3. 仅保留阿里云公网访问的Yum源地址
sed -i -e '/mirrors.aliyuncs.com/d' -e '/mirrors.cloud.aliyuncs.com/d' /etc/yum.repos.d/CentOS-Base.repo
## 4. 生成yum源缓存
dnf clean all
dnf makecache

3.5 安装git

1
2
3
yum install git 
git --version
git version 2.27.0

3.6 安装miniconda

1
2
3
4
5
6
7
8
9
10
11
12
13
14
15
16
17
18
19
20
21
22
23
24
25
26
27
28
29
30
31
32
33
34
35
36
37
38
39
40
41
42
43
44
45
46
47
48
49
50
51
####1. conda#############################################################################
# 下载Miniconda安装脚本(适用于Linux x86_64)
wget https://repo.anaconda.com/miniconda/Miniconda3-latest-Linux-x86_64.sh

# 赋予执行权限
chmod +x Miniconda3-latest-Linux-x86_64.sh

# 运行安装脚本
./Miniconda3-latest-Linux-x86_64.sh
# Thank you for installing Miniconda3!
# 刷新环境变量
source ~/.bashrc
####2. 更新源#############################################################################
# 添加清华大学镜像源
conda config --add channels https://mirrors.tuna.tsinghua.edu.cn/anaconda/pkgs/free/
conda config --add channels https://mirrors.tuna.tsinghua.edu.cn/anaconda/pkgs/main/
conda config --add channels https://mirrors.tuna.tsinghua.edu.cn/anaconda/cloud/conda-forge/
conda config --add channels https://mirrors.tuna.tsinghua.edu.cn/anaconda/cloud/pytorch/

# 中科大镜像源(可选)
# conda config --add channels https://mirrors.ustc.edu.cn/anaconda/pkgs/free/
# conda config --add channels https://mirrors.ustc.edu.cn/anaconda/pkgs/main/
####3. 条款#############################################################################
# 接受pkgs/main渠道的服务条款
conda tos accept --override-channels --channel https://repo.anaconda.com/pkgs/main

# 接受pkgs/r渠道的服务条款
conda tos accept --override-channels --channel https://repo.anaconda.com/pkgs/r
####4. 环境#############################################################################
# 创建环境
conda create -n py39 python=3.9 -y

# 激活环境
conda activate py39

# 验证Python版本
python --version
# 应该输出: Python 3.9.x

#################################################################################
# 列出所有环境
conda env list

# 退出当前环境
conda deactivate

# 删除环境(谨慎使用)
conda remove -n py39 --all -y
####6. pip#############################################################################
pip install --upgrade pip --root-user-action=ignore
Requirement already satisfied: pip in ./miniconda3/envs/py39/lib/python3.9/site-packages (25.2)

3. RAG实验环境配置

3.1 安装依赖库

1
pip install langchain langchain_community pypdf sentence-transformers faiss-cpu dashscope -i https://pypi.tuna.tsinghua.edu.cn/simple

3.2


本站由 卡卡龙 使用 Stellar 1.29.1主题创建

本站访问量 次. 本文阅读量 次.