1. 后端部署

1.1 环境部署

  • 安装mysql数据库
1
2
3
4
5
6
-- 初始化数据
-- 1、magic_admin.sql

-- 2、quartz.sql

-- 3、ai.sql
  • 安装redis数据库
1
2
3
4
5
6
7
8
9
10
11
12
[root@localhost ~]# cd /opt/module/redis-3.0.4/src/
[root@localhost src]#
[root@localhost src]#
[root@localhost src]#
[root@localhost src]#
[root@localhost src]# ./redis-server ../redis.conf
[root@localhost src]#
[root@localhost src]#
[root@localhost src]#
[root@localhost src]# ps -ef |grep redis
root 2663 1 0 7月29 ? 00:00:54 ./redis-server *:6379
root 9434 8719 0 21:27 pts/0 00:00:00 grep --color=auto redis

1.2 服务部署

1
2
3
4
5
6
7
8
9
10
11
12
## 构建镜像
docker build -t vision-ai-nextchat .

cat docker-compose.yml
version: '3'
services:
magic-server:
image: magic-server:1.0.0
ports:
- "48080:48080"
## 启动镜像
docker-compose up -d

2. 前端部署

2.1 构建

1
2
3
4
## 本地构建
npm run build:dev

// 构建出 dist

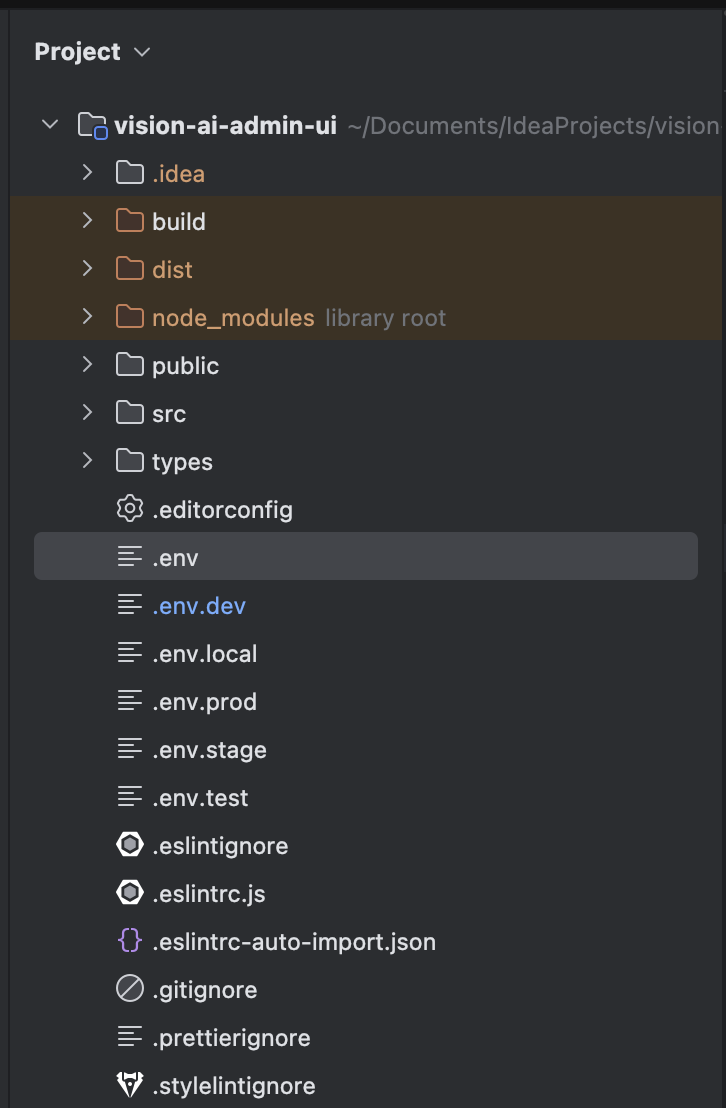
image-20250731210128971

2.2 部署

1
2
3
4
5
6
7
8
9
10
11
12
13
14
15
16
17
18
19
20
## 1. 拉取nginx镜像
docker pull nginx:1.10

## 2. 启动nginx
docker run -d -p 8088:80 --name nginx nginx

## 3. 将配置文件映射到宿主机目录/opt/module/nginx-version-ai-admin-ui/conf
docker container cp nginx_ai:/etc/nginx /opt/module/nginx-version-ai-admin-ui/conf

## 4. 新建html logs目录
docker run -d \
--name nginx-vision-ai-admin-ui \
--restart=always \
-p 8088:80 \
-v /opt/module/nginx-version-ai-admin-ui/html:/usr/share/nginx/html \
-v /opt/module/nginx-version-ai-admin-ui/logs:/var/log/nginx \
-v /opt/module/nginx-version-ai-admin-ui/conf:/etc/nginx \
--memory=512m \
--cpus=1.0 \
nginx:1.10

3. chat部署

3.1 构建

1
2
3
4
## 1. 构建
docker build -t vision-ai-nextchat .

docker images

3.2 部署

1
2
3
4
5
6
docker run -d -p 3000:3000 \
-e DEEPSEEK_API_KEY=ec36aea0-c6fd-4b09-9c5f-6a788af6774e \
-e DEEPSEEK_URL=http://192.168.100.38:48080/admin-api/v1 \
--name vision-ai-nextchat \
--restart=unless-stopped \
vision-ai-nextchat:latest

本站由 卡卡龙 使用 Stellar 1.29.1主题创建

本站访问量 次. 本文阅读量 次.